Events
Events are a shared content type. Events can be used to announce an upcoming event, allow a visitor to RSVP to an event, or get directions to an event location.
Event Fields
Title:
This is the title of the event. It will determine the URL (unless you manually change the URL path setting) and will display in large font at the top of the page.
Feature Toggles:

- Feature event on event landing page: the event will display in the slideshow at the top of the event landing page if the 'event slideshow' option is chosen
- Feature event on home page: the event will display in the slideshow at the top of the home page if the 'event slideshow' option is chosen
Header Image:
The header image is a large image that displays in the header area behind the title of the event. The minimum size for this image is 1366 x 548 pixels, but we suggest using an image that is larger than the minimum. Header images will also be displayed in the home page and event landing page header slideshows. For more detailed information about images, please consult our image guide.
Thumbnail Image:
The event thumbnail image displays in many places, including the Card layout of the event landing page and sections on the home page and multipurpose pages that pull in events. Because they display in so many places, we highly recommend using a thumbnail image with all of your events. The minimum size for a thumbnail image is 600 x 600, but we suggest using an image that is larger than the minimum. For more detailed information about images, please consult our image guide.
Intro Text:
Text in this field will display at the top of the event in large italics font for visual impact.
Description:
This section is for the main body of the event. You can use the WYSIWYG toolbar to add text, lists, images, video, links, etc.
Event Category:
This is a list of all of the available taxonomy terms for Events. Tagging your events with taxonomy terms allows them to be sorted by categories on your Events landing page.
Event Times and Dates:
- Event date TBD toggle:
- toggle on if you are unsure of what date your event will be on
- no time or dates will display
- All day toggle:
- toggle on if you have an all-day or multi-day event.
- no times will display, only start and end dates
- Show end date toggle:
- toggle on if you would like the event's end time/date displayed on your event
- Start and end times/dates: these are the start and end times/dates for your event
Event Contact:
This field is for the email address of the person who someone interested in the event should contact for more information or questions.
Location:
This field is for the location of your event.
Additional Location Information:
This field is for any other location information that might be helpful for someone attending your event.
Geolocation Address:
This field is used if you would like to add a map to your event. You need to enter the full address where you would like the event marker to display in the following format: Name of building, 1234 Main Street, St. Louis, MO 12345.
Direct Link:
Use this field to paste in the URL of an event that you are including from an external website or a Washington University site that does not participate in our content-sharing. For example, if you wanted to add an event from the New York Times on your News landing page, you would put the URL of the event here.
Button Text and Button URL:
These fields are used if you would like to add a button to the body of your event.
RSVP form:
The RSVP form field allows you to add an RSVP webform that already exists in your website to your event.
Search:
Adding a word to this field will affect the internal site search results. If a word is entered into that field, regardless of whether it is in the content of that page, the internal site search will place a higher weight on that page when someone searches for that word.
Shared Content Toggle
If you would like to make this piece of content available for other sites to import, turn on the shared content toggle. This will also open a field letting you notify other departments who may be interested in importing your content.
Adding an RSVP to your Event
To add an RSVP form, you must first build it using a webform in your website. Once you do that, it will appear in the 'RSVP Form' dropdown in this section. After choosing your RSVP webform from the list, you can set it to be open, closed, or can scheduled to open and close on scheduled dates. If you would like to make an edit to your chosen webform, click the question mark which will open helper text that contains link text to take you directly to your webform in order to edit it. We highly encourage you to close your RSVP forms once the event is over to help reduce webform spam submissions.

Event Examples
Need some inspiration? Here are a few examples of event layouts and what sections are being used in each one.
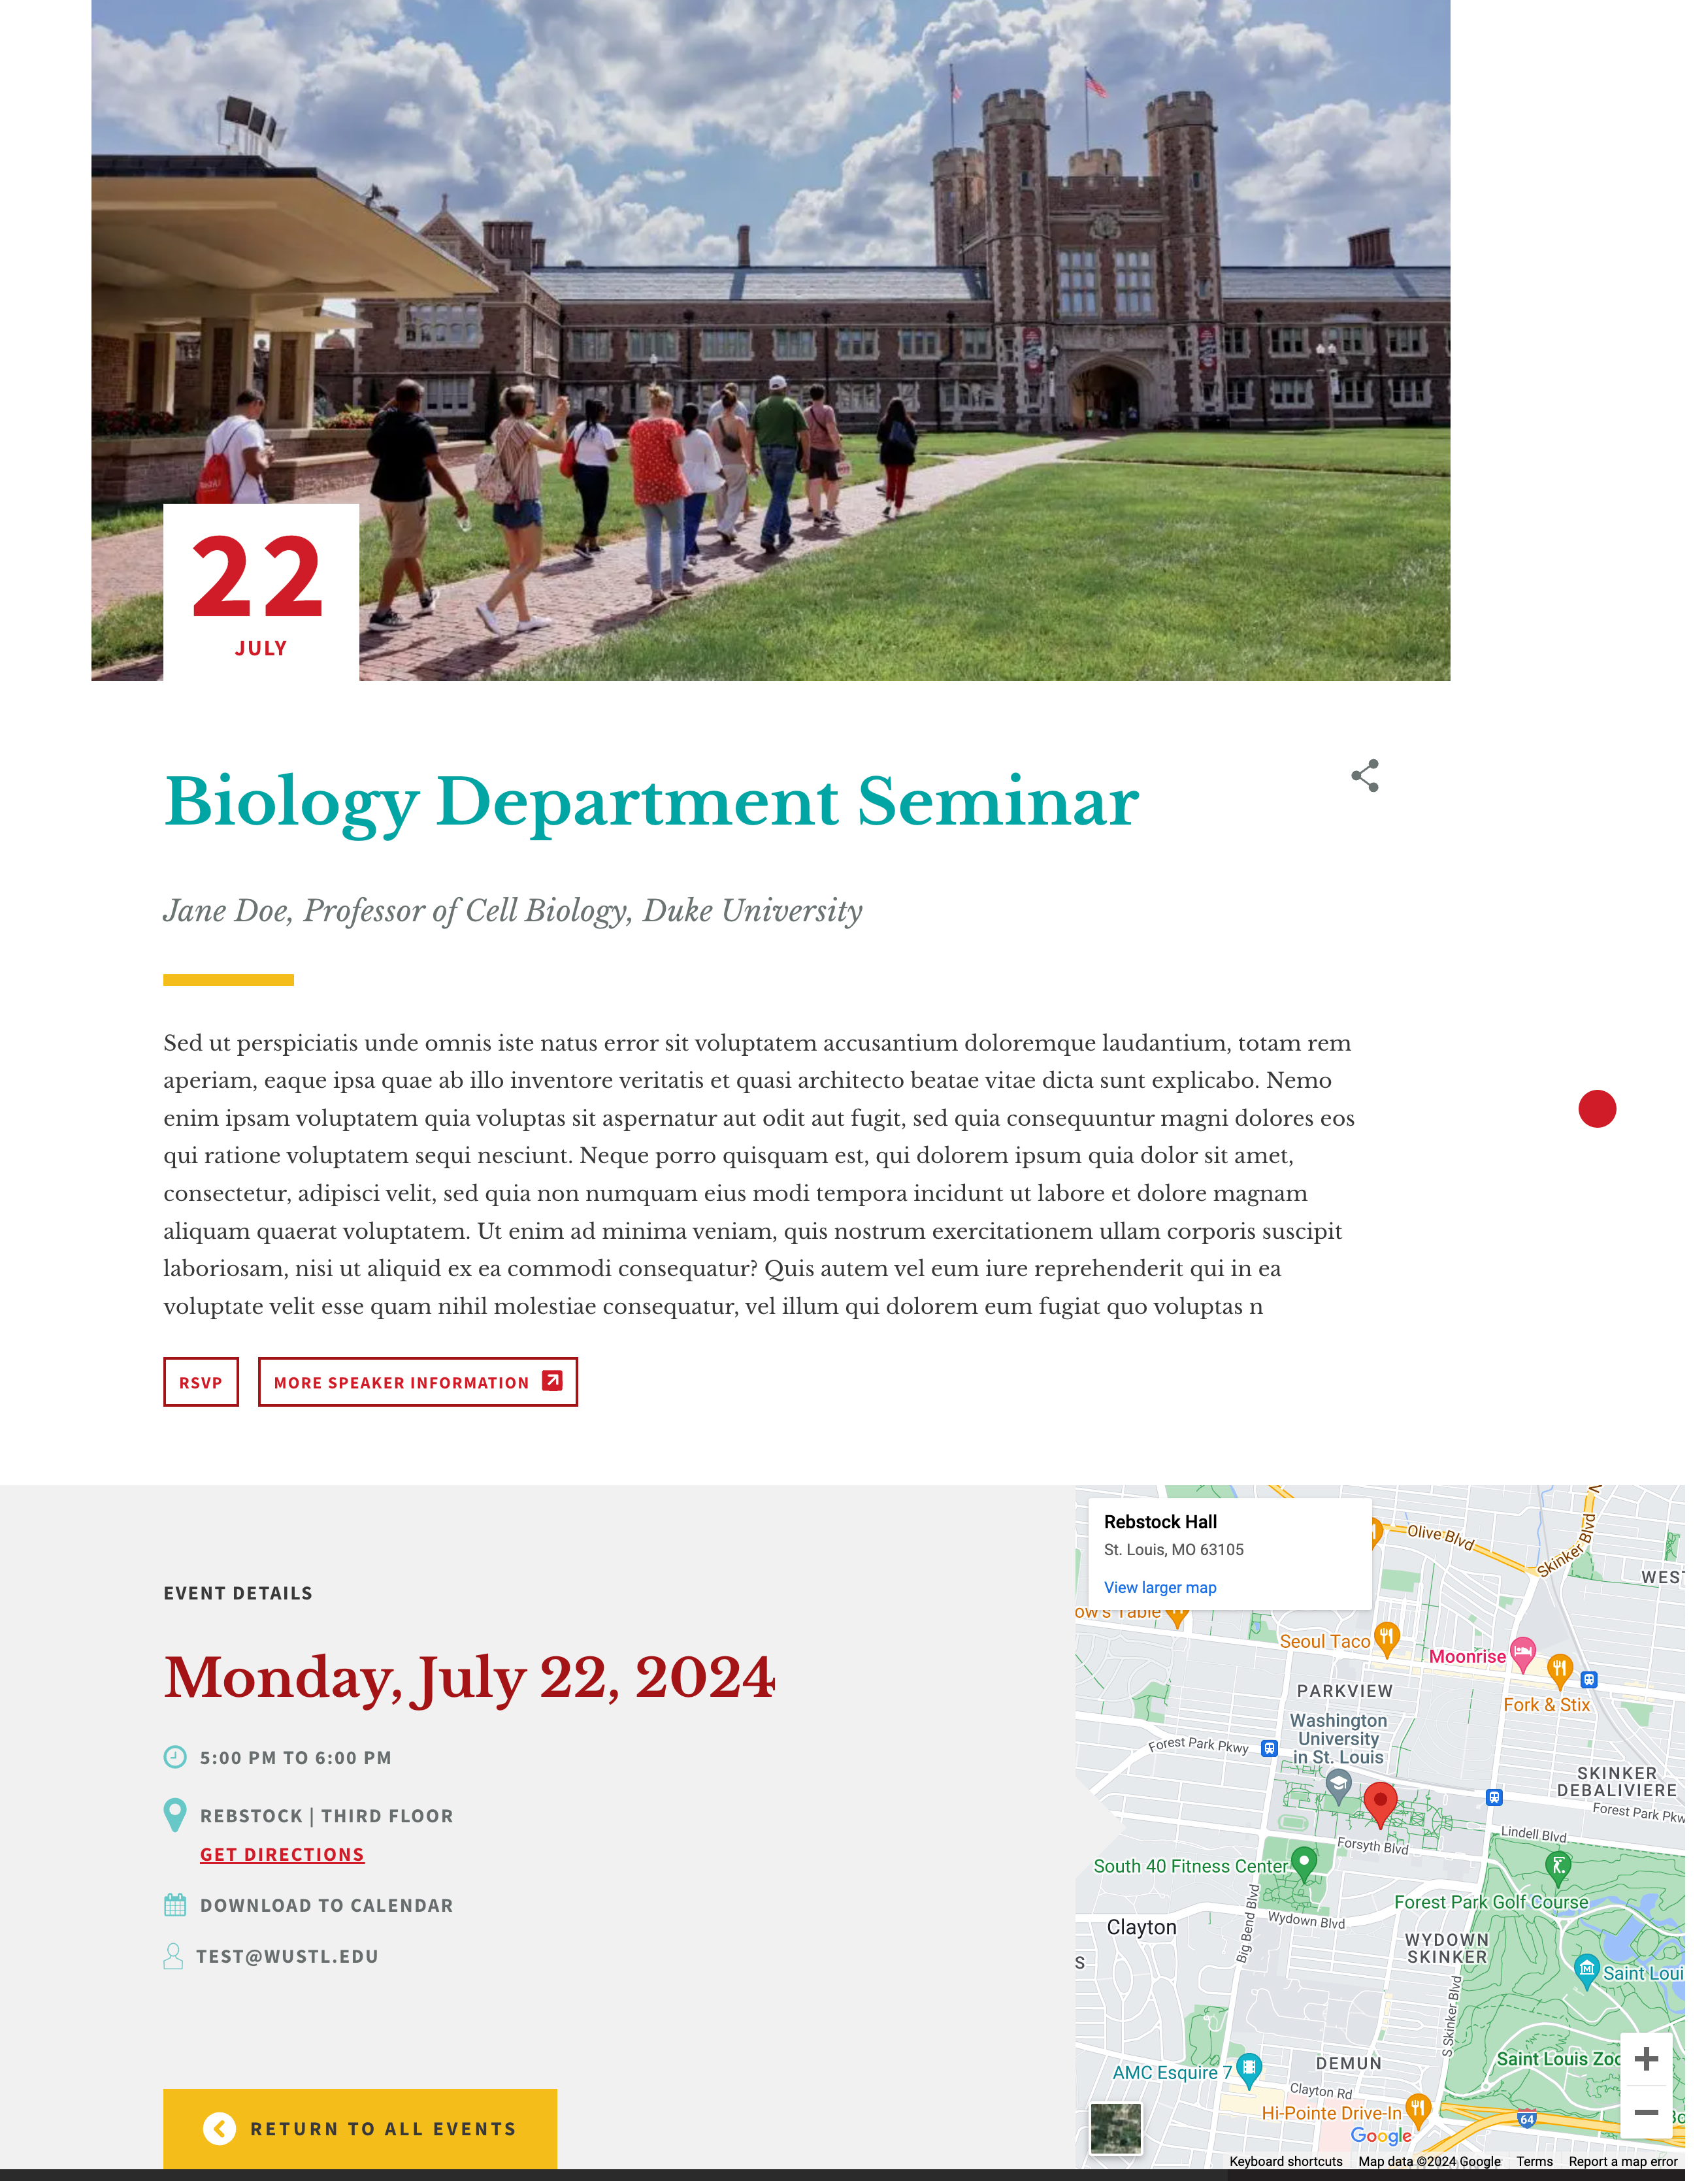
Event Example #1
This example shows an event containing a header image, a link to an RSVP form, and the use of the geolocation field to trigger a map.
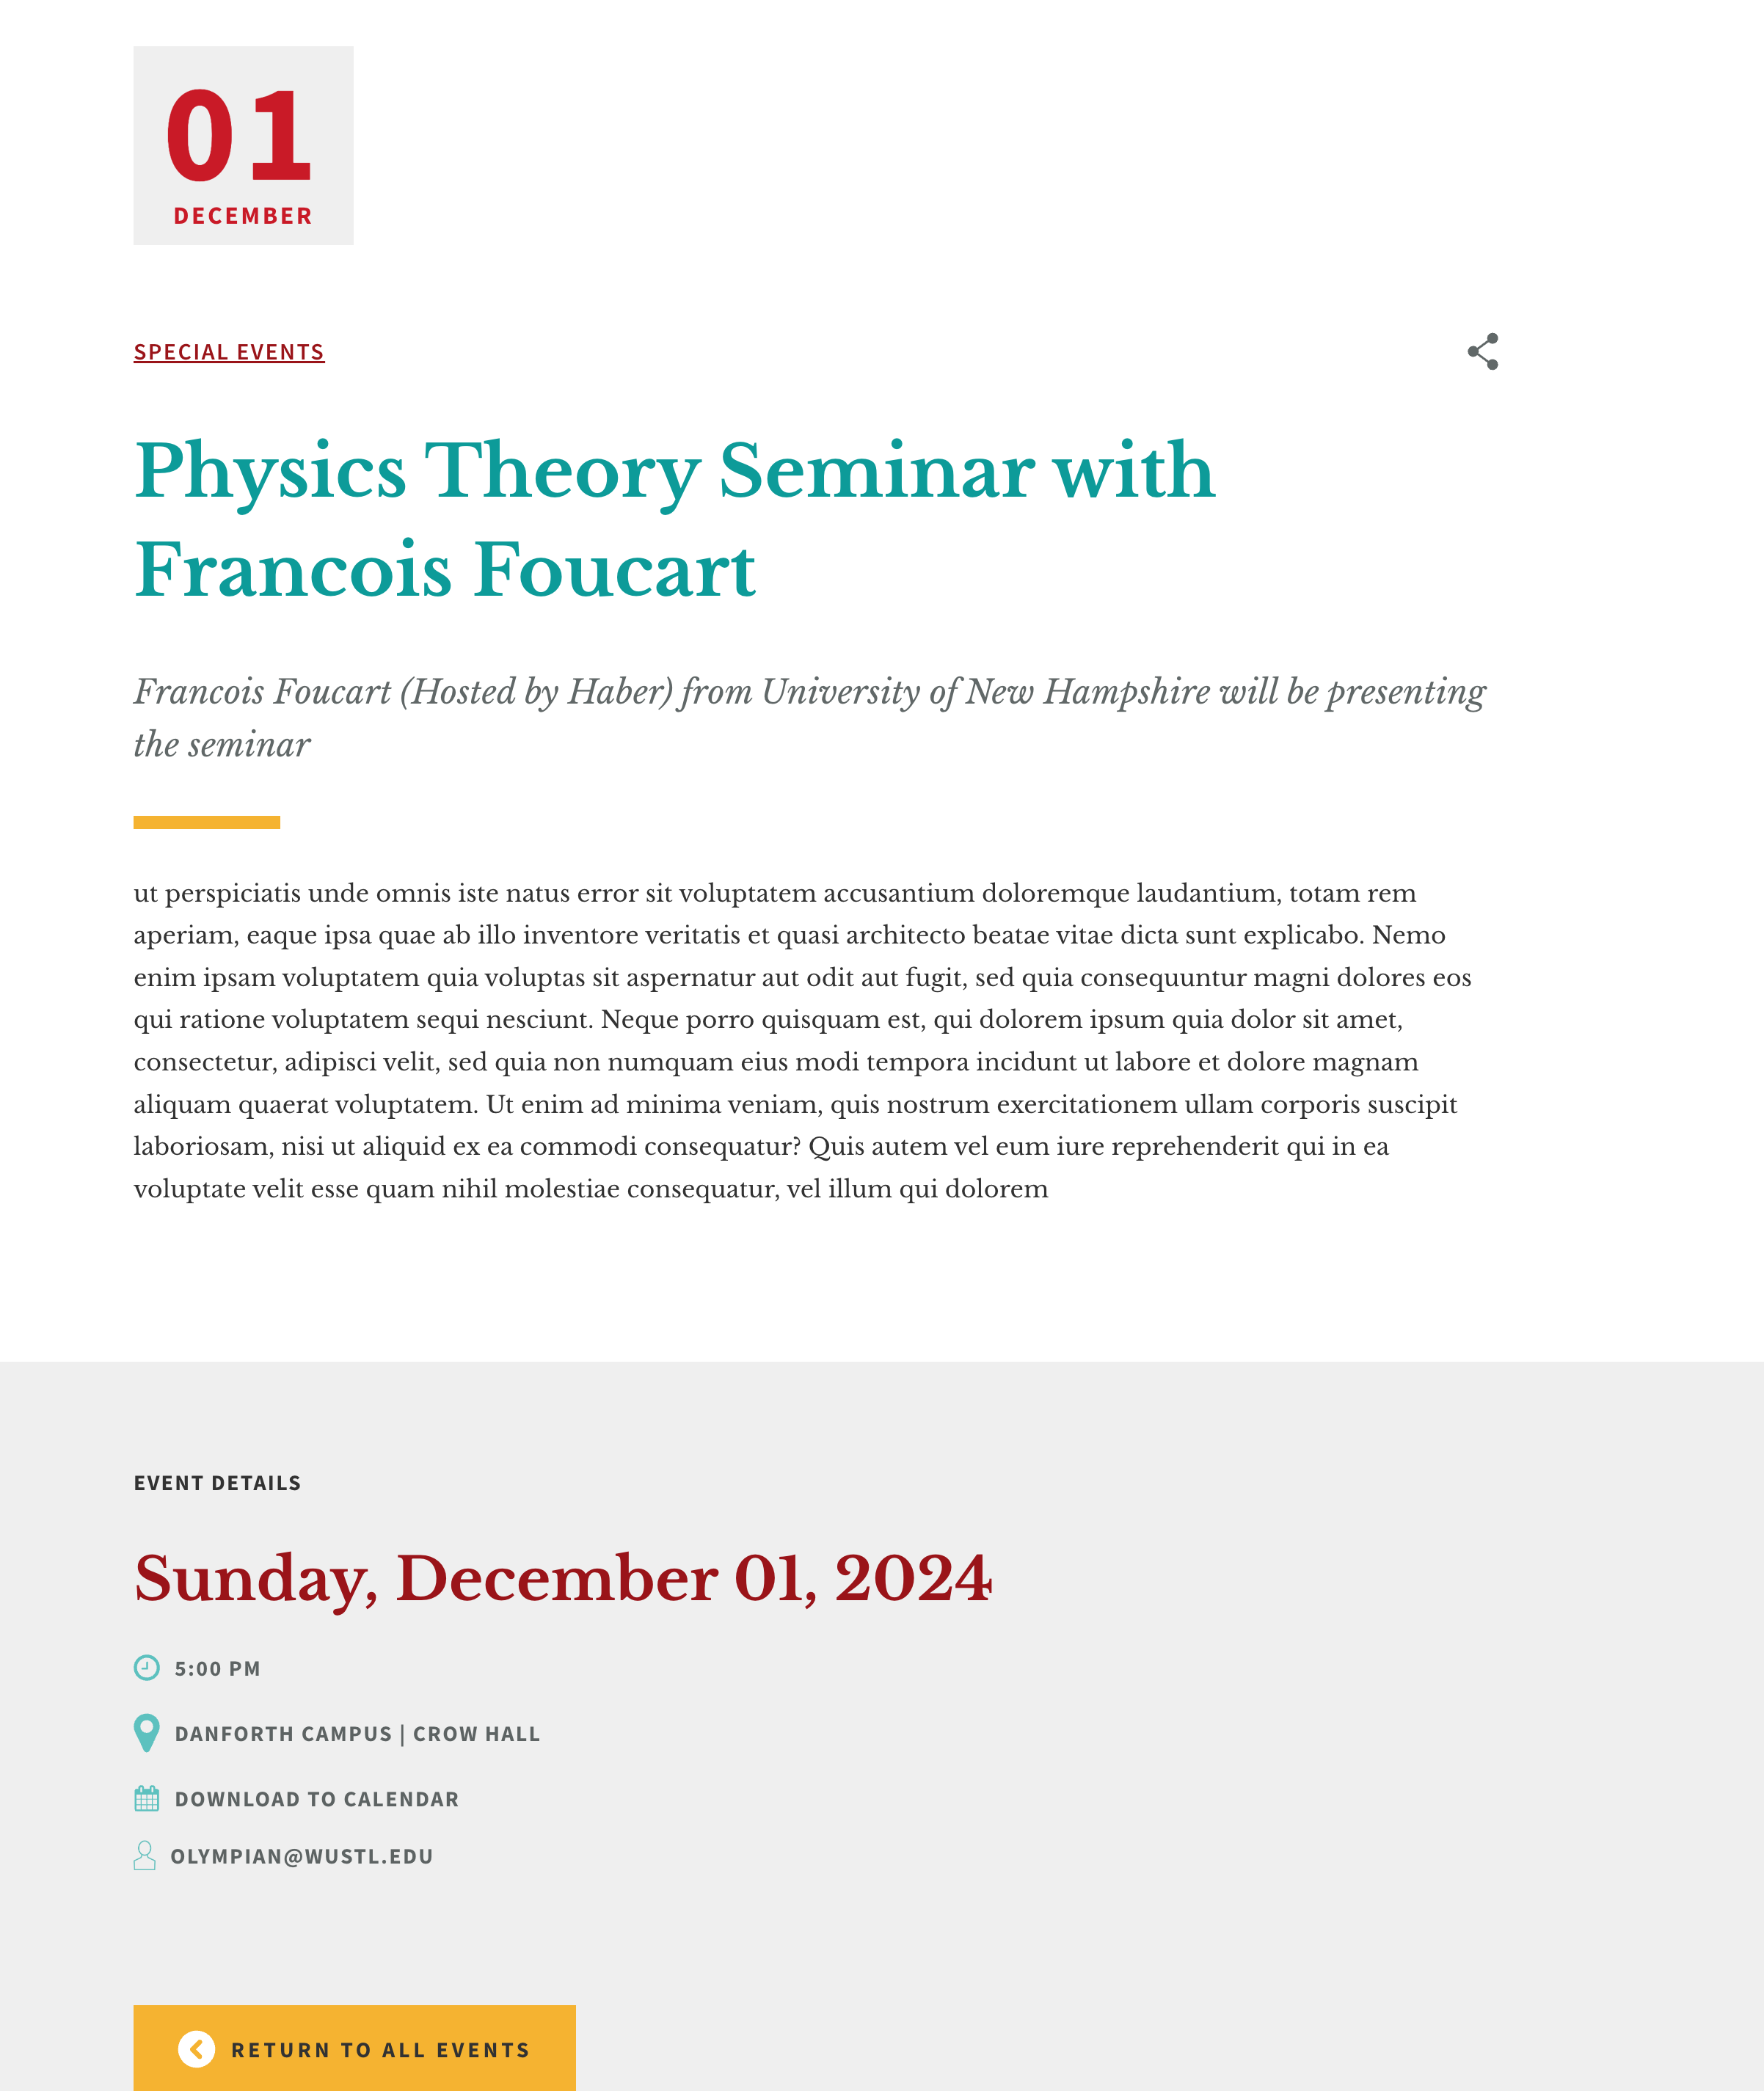
Event Example #2
This example event shows a simpler layout with no RSVP, image, or map.
Events Landing Page
The Events landing page is a list of all of the published upcoming events in your website. All published events will automatically appear on the Event landing page.
Header Section
The Event landing page has two options for the header.

Static Image:
If you choose the static image option, a single image will always display in the header section along with the landing page title.

Featured Event Slideshow:
In the slideshow option, the header will display as a slideshow featuring individual events that have their 'feature on event landing page' box checked. If you decide to use this option, you will need to make sure that your featured events have a header image. To remove an event from the header slideshow, uncheck the 'feature on event landing page' box on the event.

Footer Section
The footer section is at the very bottom of the Events landing page and displays text and an optional button. You can also add social media links, an ampersand icon, and have a white or grey background. This is a great place to link to a list of recurring lecture series or conferences.

Layout Options
The Events landing page can be set to display as a list (text) or as cards (images). If you would like to change your layout, you can contact the web team at artsci-webteam@wustl.edu.
Card Layout:
If you select the Card layout, it is important for your events to have thumbnail images. Without a thumbnail, the default ampersand image will display. This looks fine occasionally interspersed with other images but does not look very nice when there are a lot of them.

List Layout:
If you select the List layout, it is important that even though this layout doesn't display a thumbnail image, you will still need to add one in case your event is shared with a department that uses the Card layout.

Taxonomy/Filter Terms
The taxonomy terms on your Events landing page are located under the search bar and are used to sort your events by category. You can tag a piece of content with multiple taxonomy terms. If you do not tag a piece of content, the content will still display on the landing page, but will not display if a user clicks on taxonomy terms since it hasn't been tagged with anything.
You have three options for displaying your taxonomy terms:
Always open:
The taxonomy terms will always be visible.

Collapsed:
The taxonomy terms will be hidden and the user can click on the 'V' to make them visible.

Hidden:
There will be no taxonomy terms visible to the site visitor, only the search bar, browse by date dropdown, and the Past Events link. However, they will still be available when you are editing the article and would like to tag it with a taxonomy term.
The 'all' taxonomy term will always display in the list of categories and cannot be removed. Any changes that need to be made to the article taxonomy/filter terms or how they display can be sent to the web team at artsci-webteam@wustl.edu
Subscribe to Calendar
Below the search bar, there is a 'subscribe to calendar' icon that allows you to add all of the department's events to your default calendar. As new upcoming events are added to the department calendar, they will also be added to yours.

To subscribe to a calendar, click on the 'subscribe to calendar' link. This will open your default calendar application and allow you to subscribe to all of the events.

Note: Depending on what you are using for your default calendar, these steps may be slightly different.
Additional display locations for Events
Events can display in many different sections on your website including:
- All published events will automatically appear on the Event landing page.
- In the Featured Events header slideshow option on the home page or event landing page.
- Any section in the Home or Multipurpose pages that allows you to pull in events.
Past Events Landing Page
The Past Events landing page is a list of all of the published past events in your website. All published events will automatically appear on the Event landing page in the list layout.
Header Section
The Introduction section has a static background image upload, a headline field, and a description field. If you upload a background photo, you will have a choice of a red, dark, or white image overlay. If you do not upload a photo, you can choose to have a solid red, dark, or white header background. There is also an option to display an ampersand icon in your header.
Footer Section
The footer section is at the very bottom of the Past Events landing page and displays text and an optional button. You can also add social media links, an ampersand icon, and have a white or grey background.
Taxonomy/Filter Terms & Year Sorter
The taxonomy terms on your Past Events landing page are located under the search bar and are used to sort your past events by category. The functionality is the same as it is on the upcoming events landing page. There is also a link to take the site visitor back to the upcoming events landing page.
The year sorter will allow you users to page back and browse through past events by the year they were held in. Each year will start with January events and end with December events.
